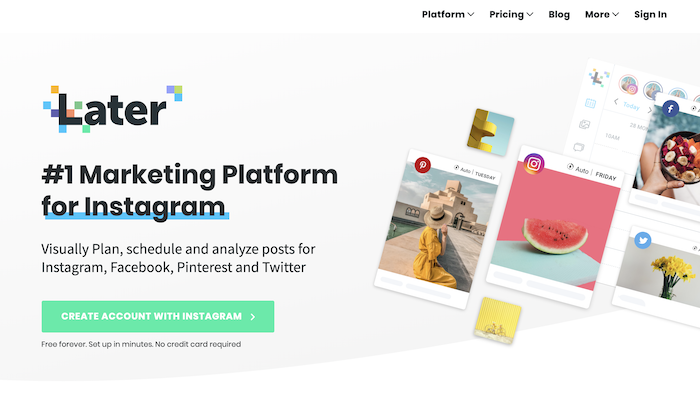
Scheduling your Instagram posts ahead of time helps you maintain a consistent posting schedule. When you prepare content in batches and schedule it for later, you also save time! One of our favorite tools for scheduling Instagram posts is Later. To create a Later account for your center, follow these steps.
Step 1: Visit https://later.com/ and click on Create Account With Instagram from your computer.
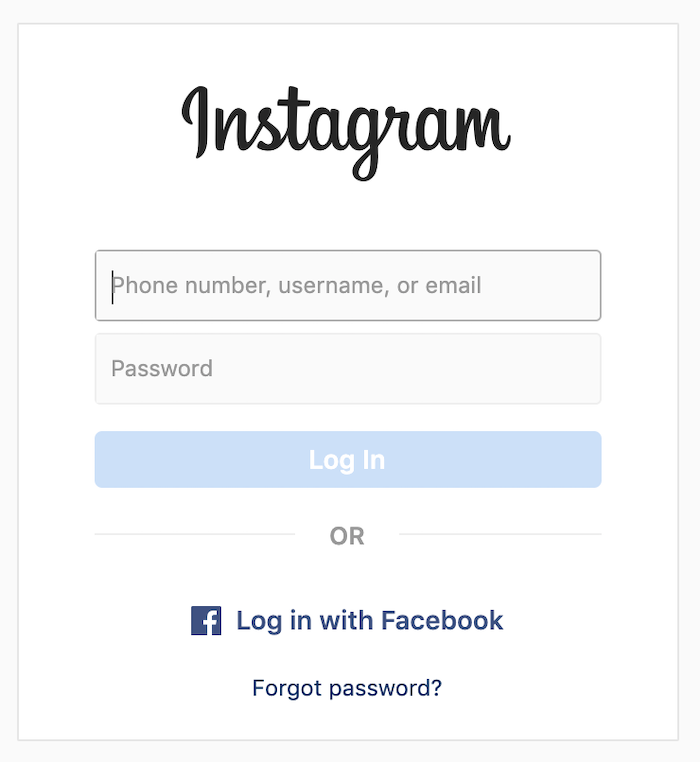
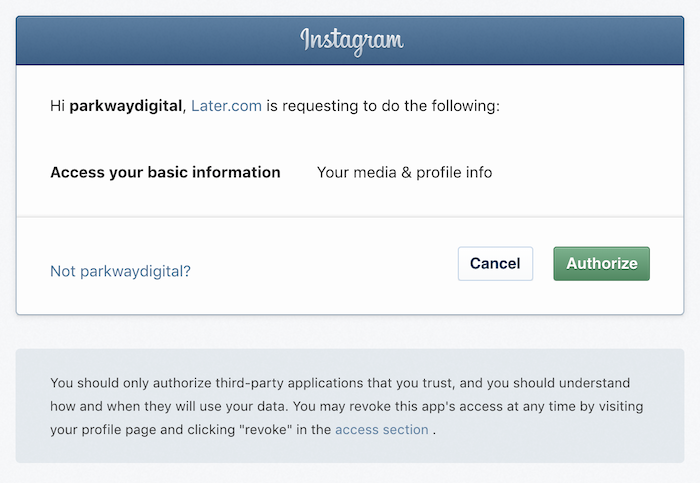
Step 2: Sign into the Instagram account you want to use Later with. If you’re already signed in, Instagram will double-check that it’s okay for Later to access your profile.
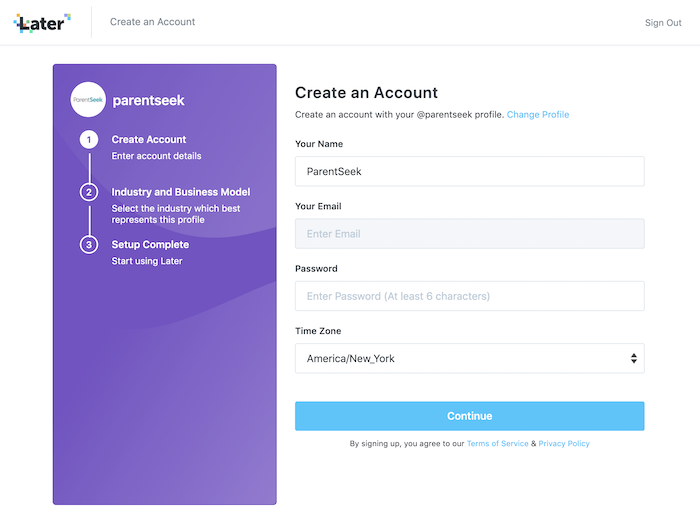
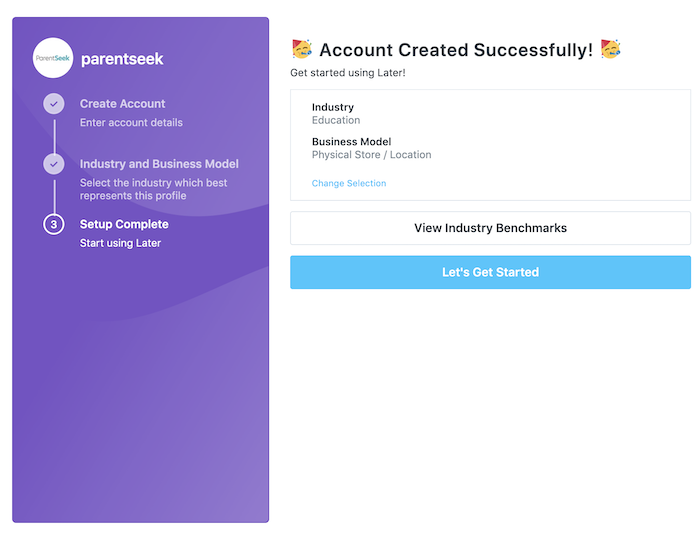
Step 3: Create an account with your Name, Email and Password. Select the industry and business model that best fit your center. We suggest choosing Education & Improvement –> Education –> Physical Store / Location. Hit Continue.
Step 4: Double check that your Industry and Business Model are appropriate. Click Let’s Get Started to begin using Later!
Step 5: You’ll need to download the Later app to finish creating your account. Click Setup Now on your computer screen to get started.
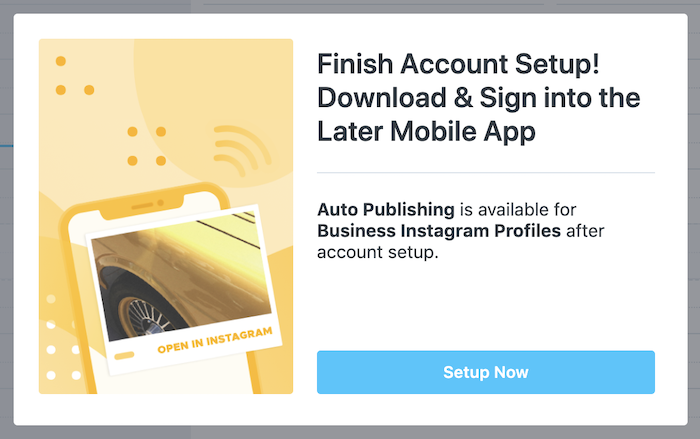
Step 6: Click Get Started.
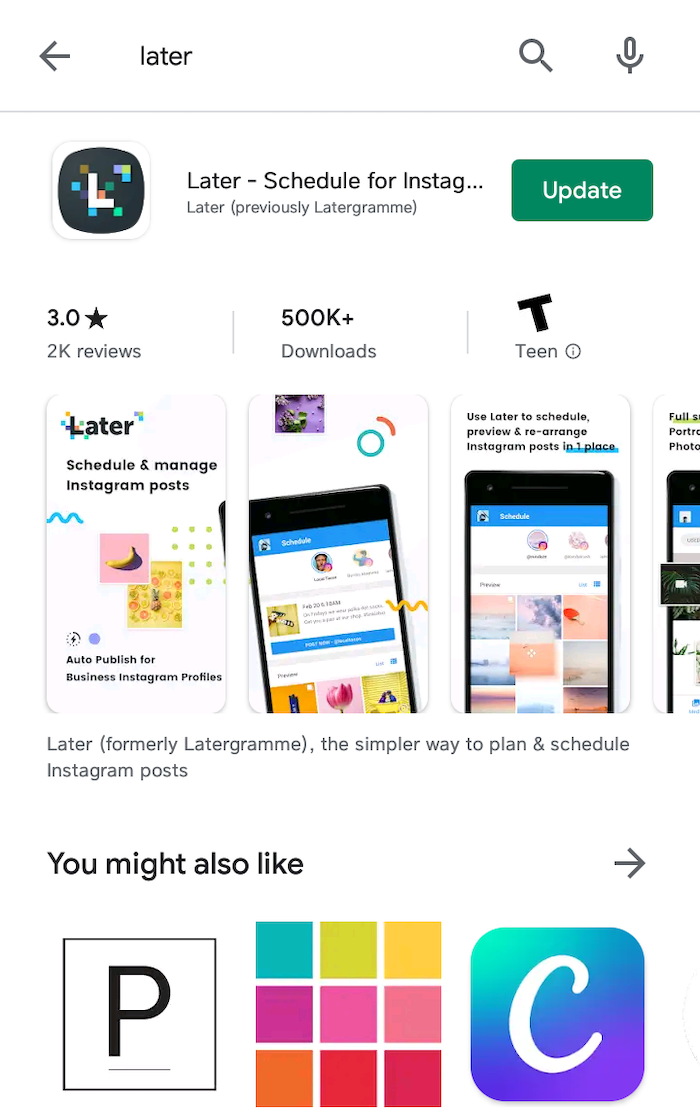
Step 7: Download the Later app to your smartphone. It’s available on Google Play and the Apple App Store. Click Next Step on your computer screen.
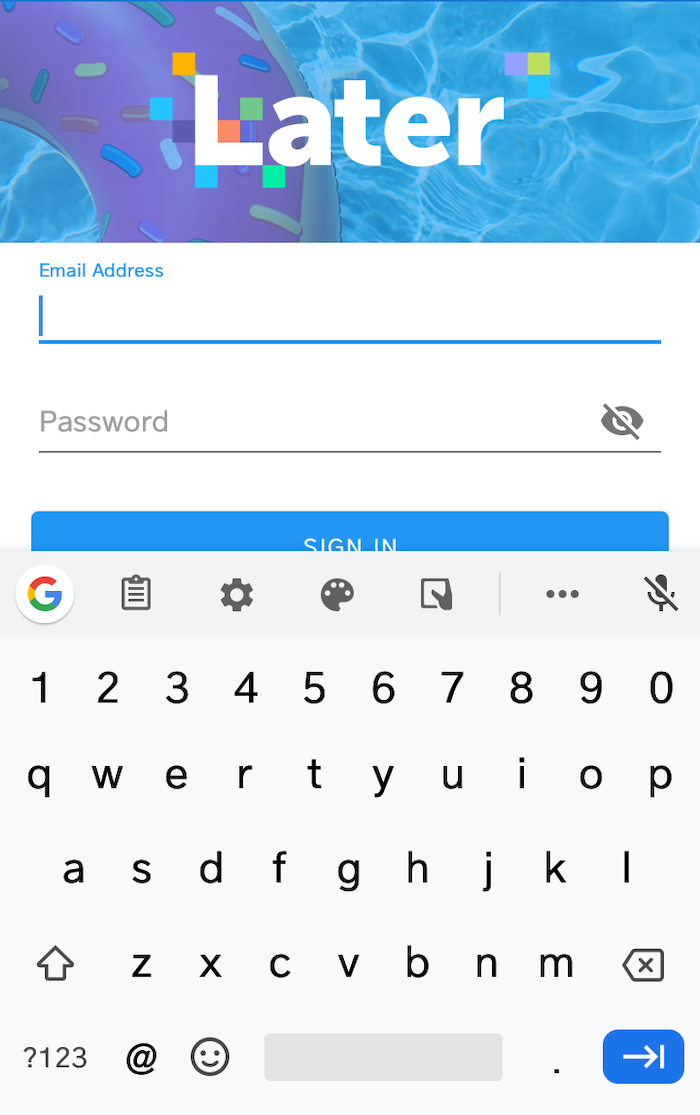
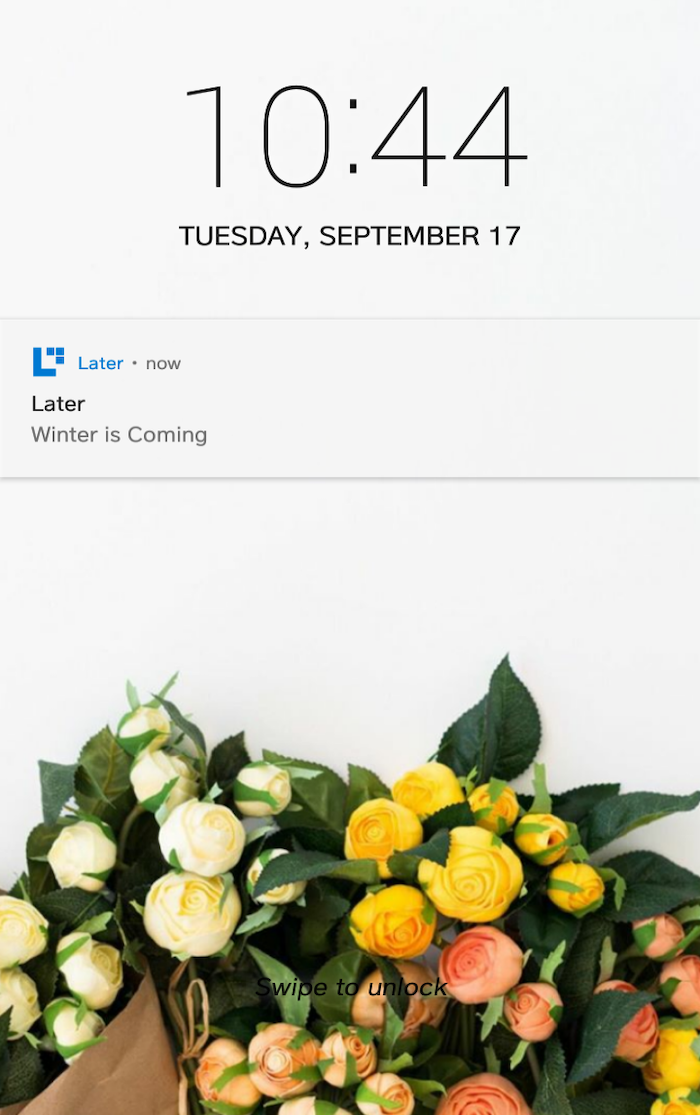
Step 8: Sign into the Later app using the account you just created. On your computer screen, click Send Test Notification to make sure Later can send you push notifications.
Step 9: Click Complete Setup on your computer screen. You’re ready to start scheduling posts on Later now! Learn how using these steps.