Using templates to create social media graphics keeps your accounts looking cohesive. There are lots of free online tools that help you design posts with the right sizes, colors and fonts. One of the most straightforward tools is Snappa. Snappa’s templates are bold and bright! If this aesthetic fits your center’s brand, this could be the perfect tool for designing graphics that connect with parents in their social media feeds.
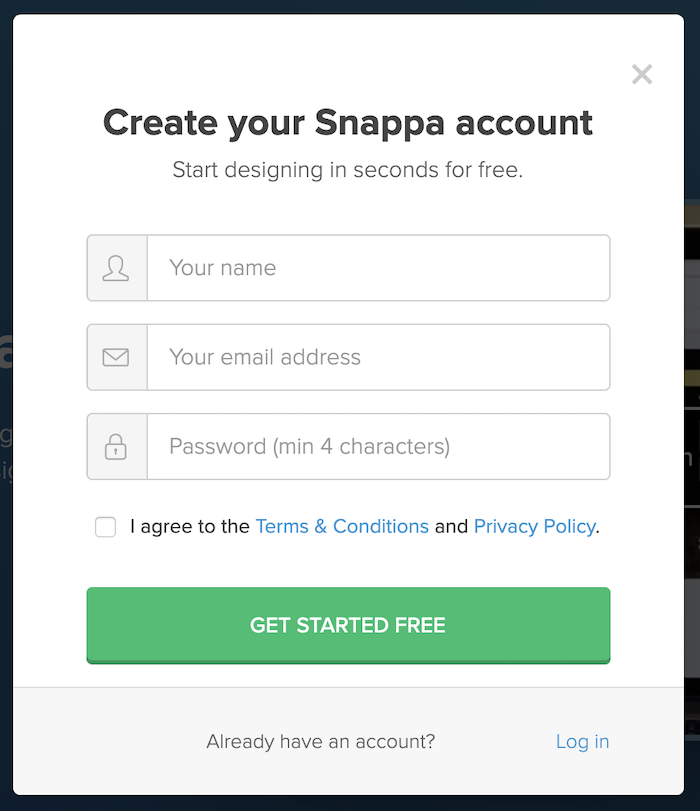
Step 1: Go to https://snappa.com/. Use the yellow Get Started Free button in the upper right-hand corner to create an account. If you already have a Snappa account, use the Log In button, located to the left of the yellow button.

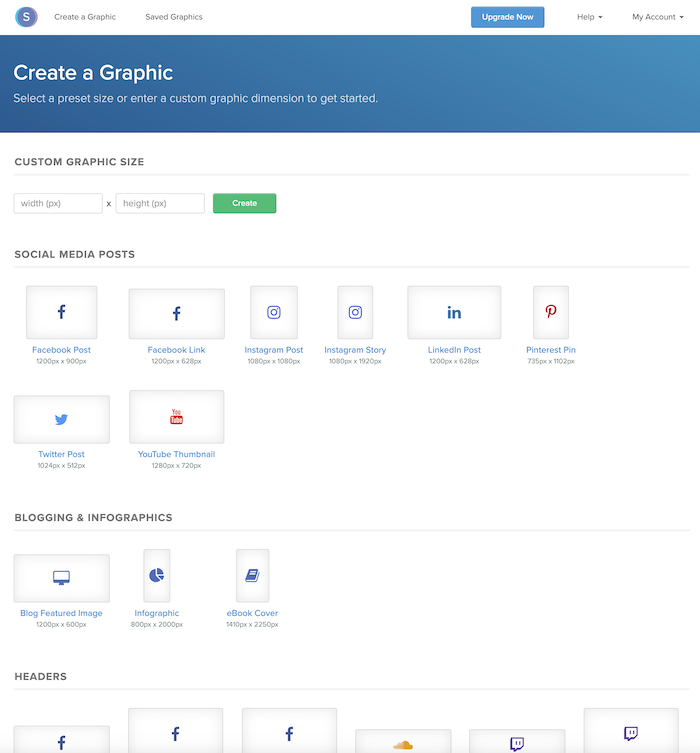
Step 2: If you know what size you want your graphic to be (in pixels), use the width and height boxes under Custom Graphic Size. Otherwise, choose a size under Social Media Posts, Headers or Social & Display Ads, depending on what you need to design.
For this example, we’ll design a Facebook post.

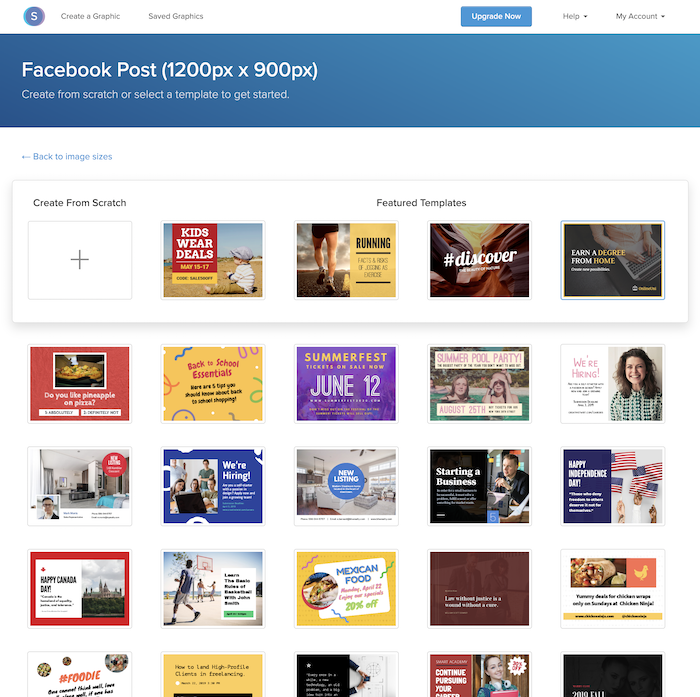
Step 3: Choose a template for the image size you selected. There are lots to choose from! Remember, this will be the basic outline of your social media graphic. You’ll be able to change the colors, images and fonts, so look past all of those details.

Tip: Other online design tools limit which templates you can use with a free account. Snappa gives you lots of template options but limits how many designs you can download each month.
Step 4: Use the menu along the left-hand side to make the template your own. You can edit the background, effects, text, graphics and shapes.

Step 5: Give your design a name by clicking the pencil in the upper left-hand corner and typing a title in.
![]()
Step 6: Save your design by clicking the Save button in the upper right-hand corner.
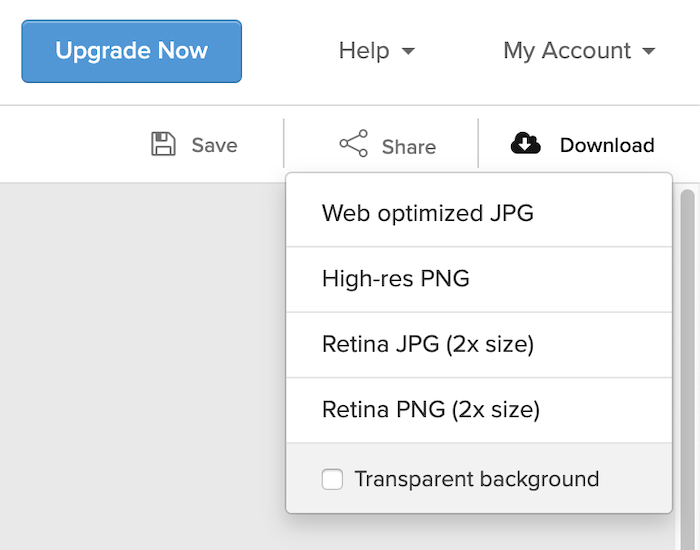
Step 7: Use the Download button, also in the upper right-hand corner, to save the design to your computer. Select Web optimized JPG for sharing on social media.

